Setting Up Mozilla Thunderdbird
Select the ‘Tools’ menu.
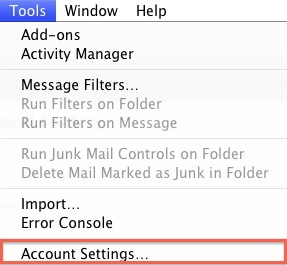
Select Account Settings.
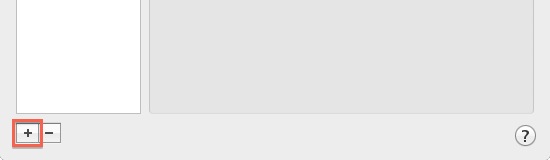
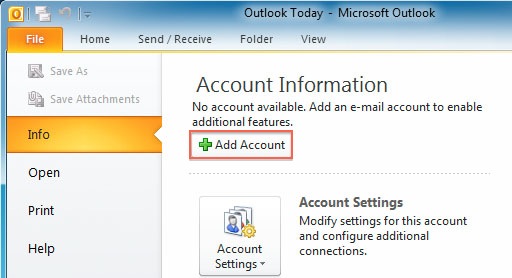
Click the Account Actions button.
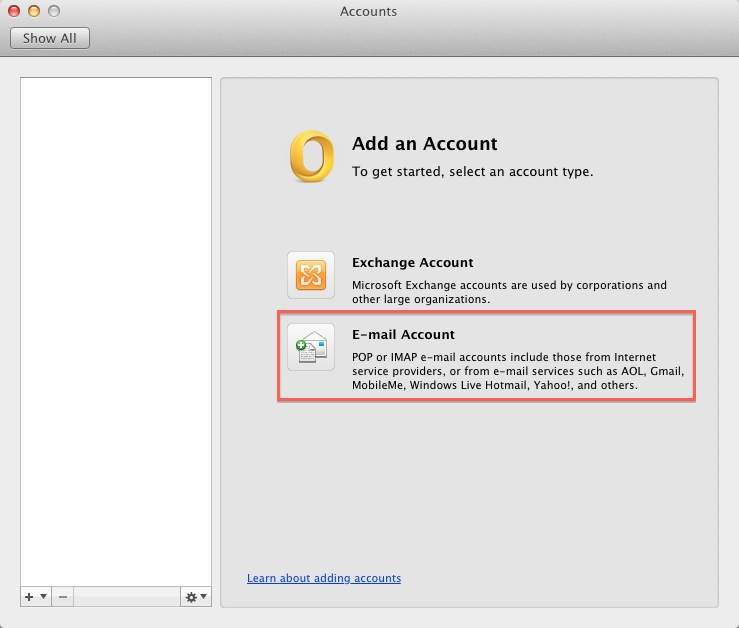
Click Add Mail Account.
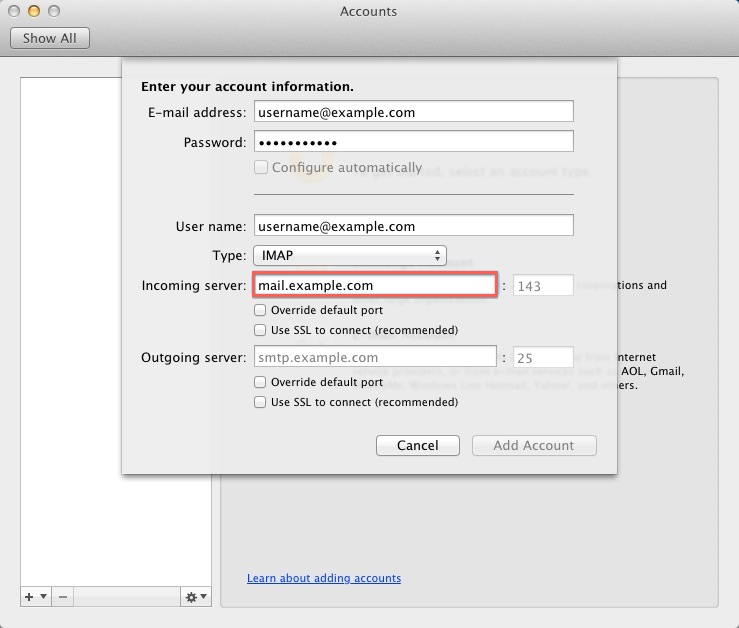
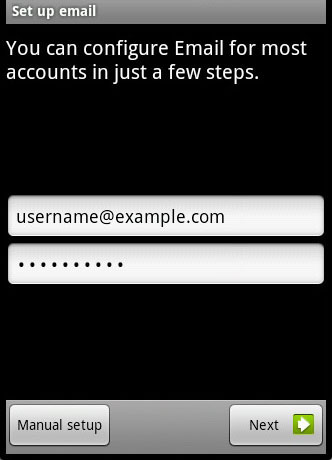
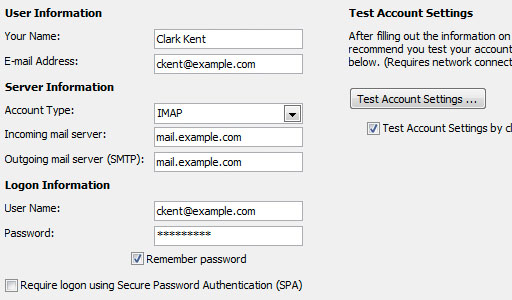
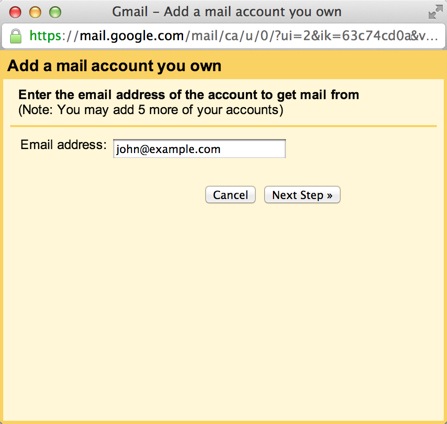
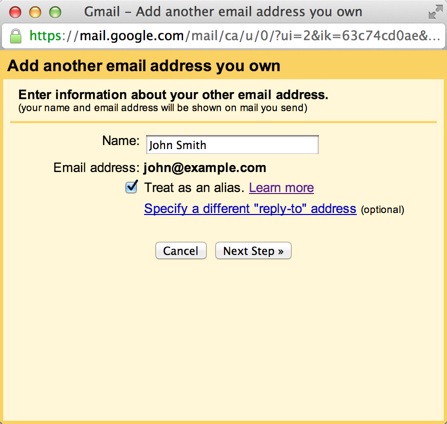
Enter your name as you would like it to appear on your outgoing mail messages.
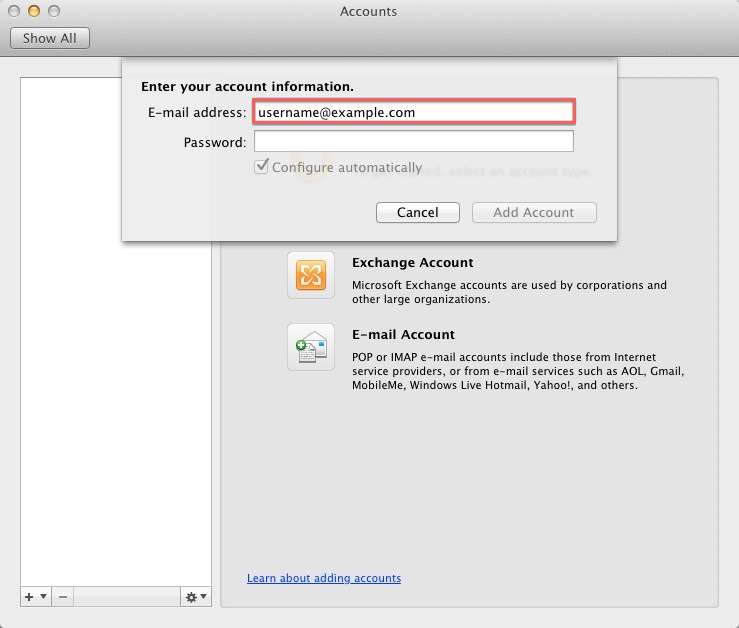
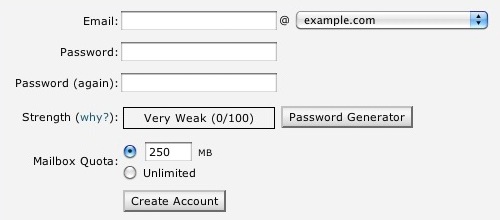
Enter your E-mail address.
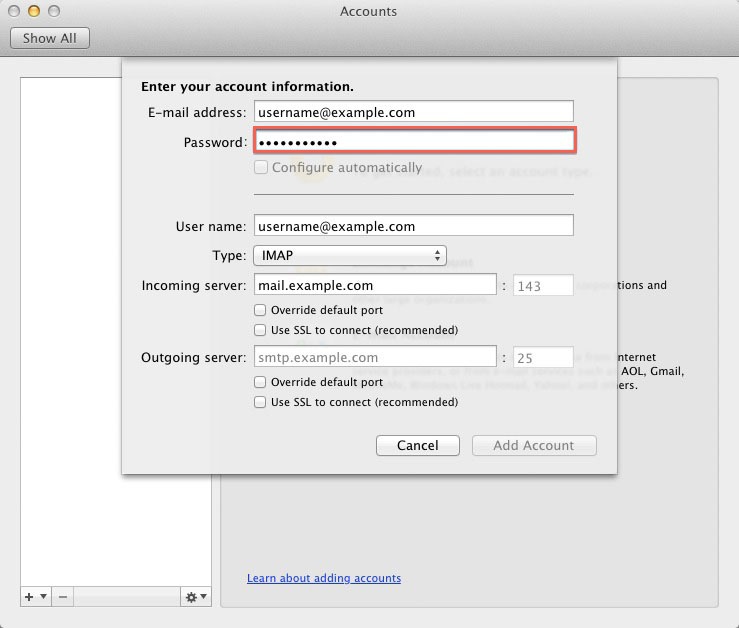
Enter your E-mail password.
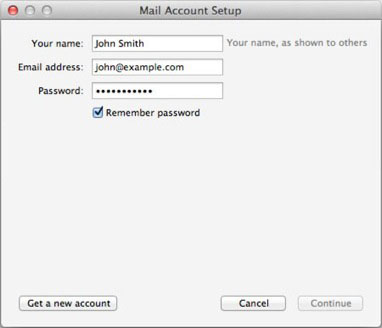
Click the Continue button.
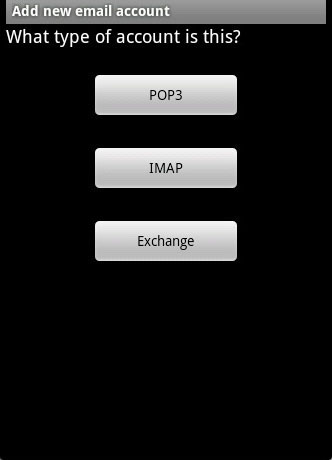
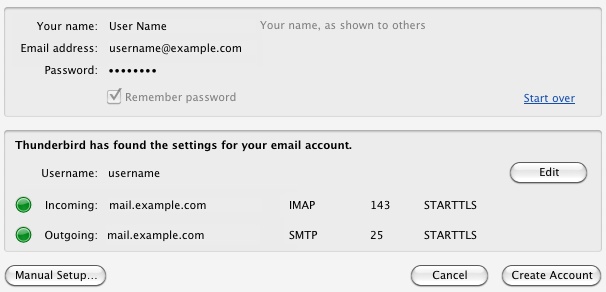
Thunderbird will now attempt to setup the account automatically. It will create an IMAP account and will not use SSL.
Once the automatic setup has completed click Manual Setup.
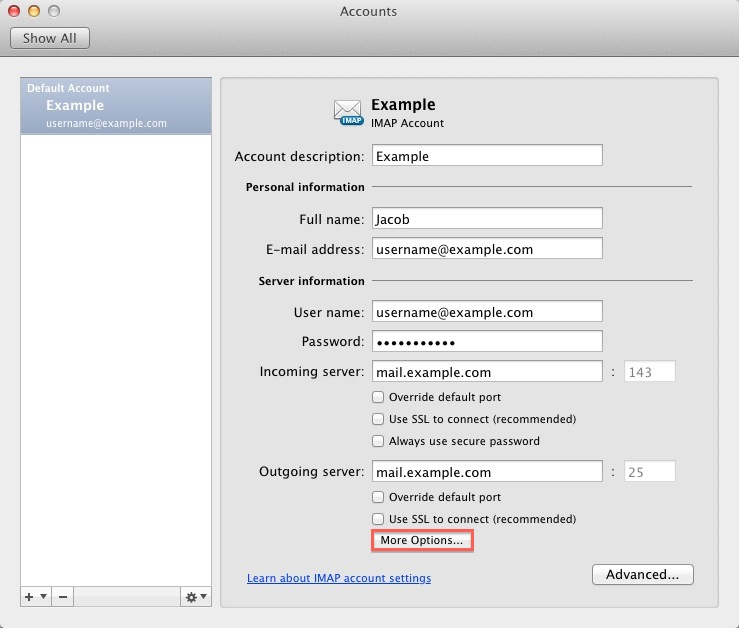
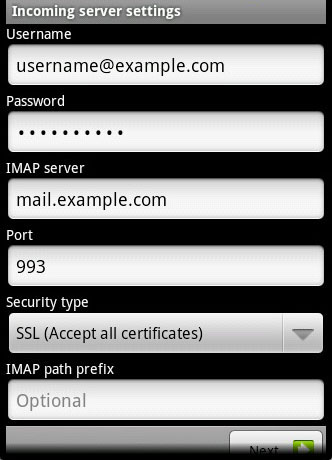
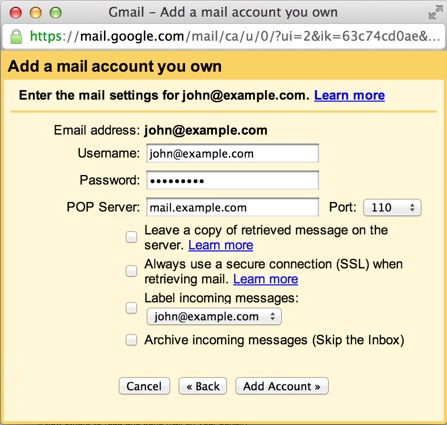
Click the “Server Settings”
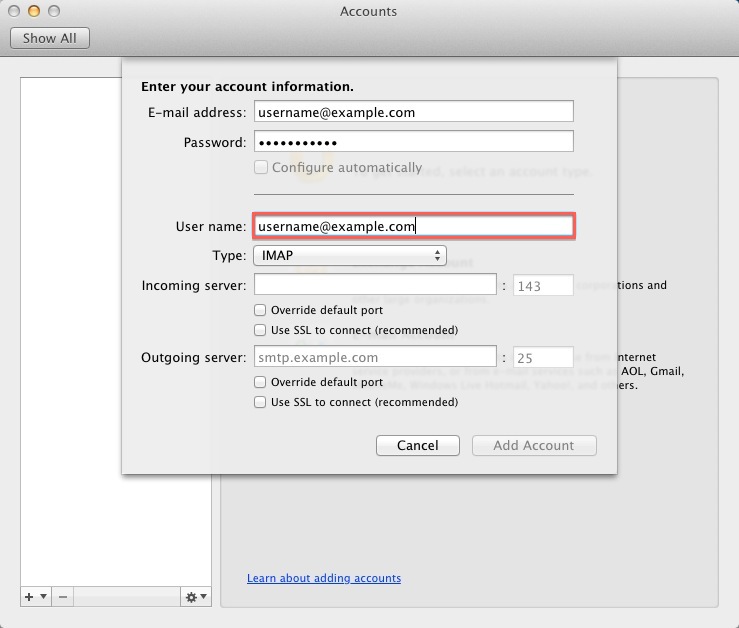
Enter your full email address as the “User Name”
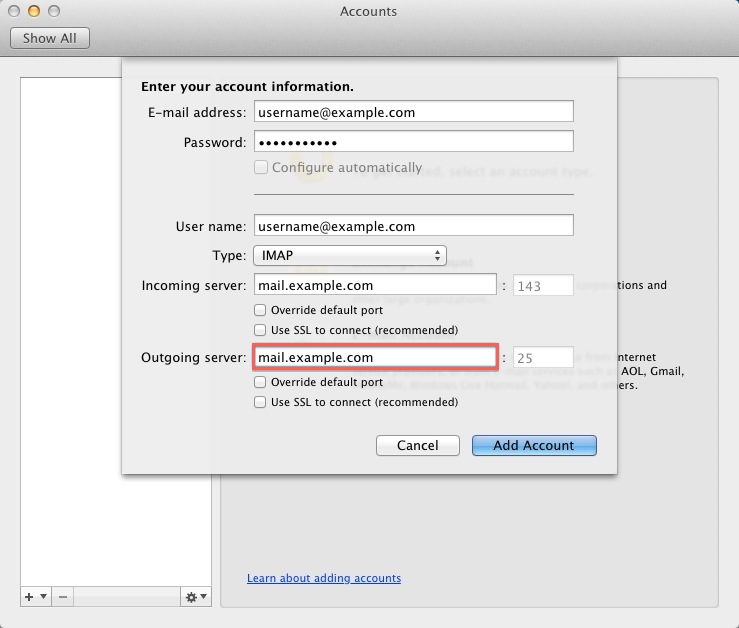
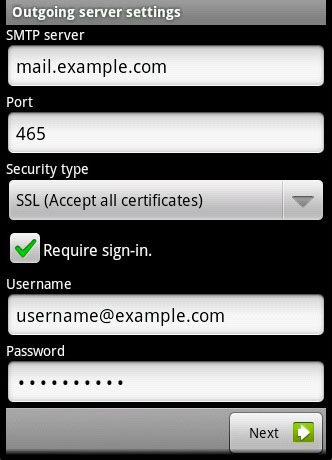
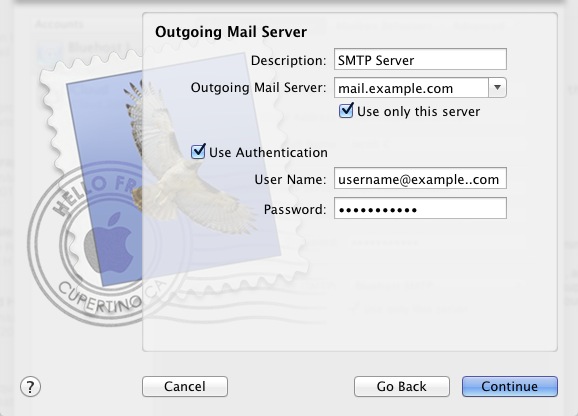
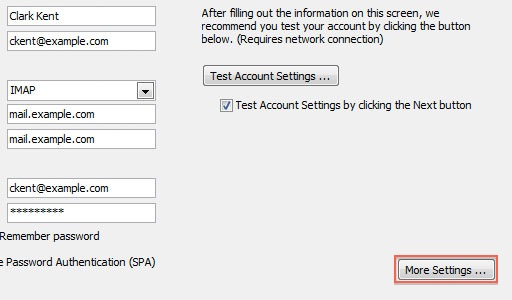
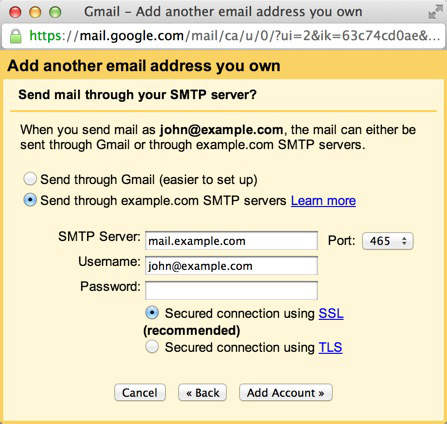
Click Outgoing Server (SMTP) from the left hand column.
Highlight your new SMTP Server and click Edit.
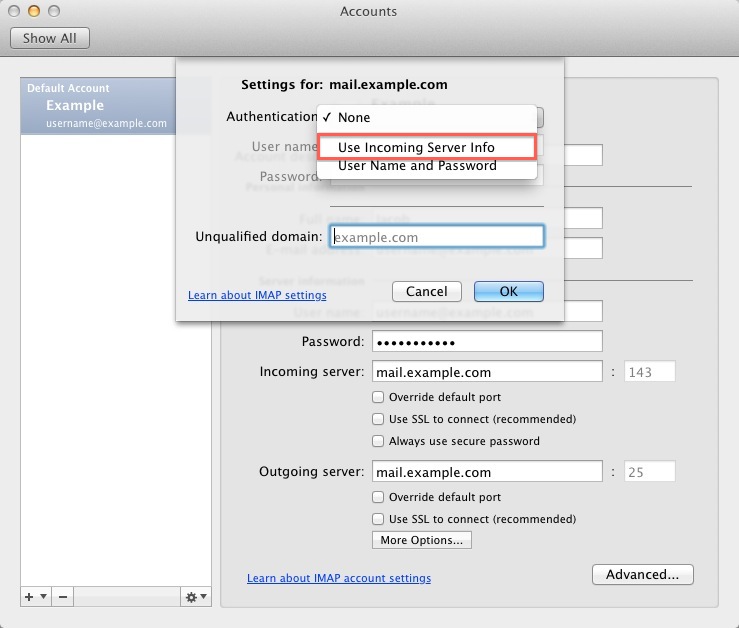
Enter your entire email address as the User Name, under the Security and Authentication section.
Change the Port from Port: 25 to Port: 26
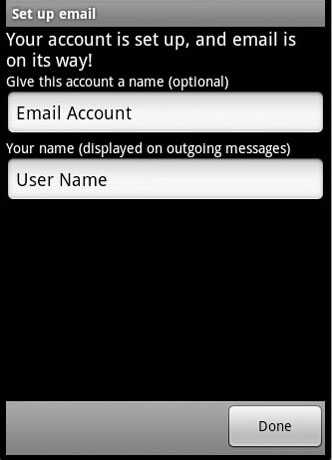
Give this account a nickname for future reference.
Click Ok
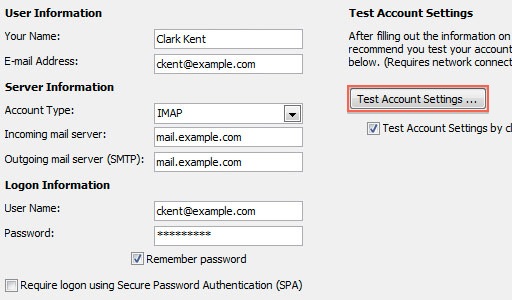
Take a minute to review your account information.If everything appears to be fine, click Ok to finish.
You should now be able to send and receive mail.